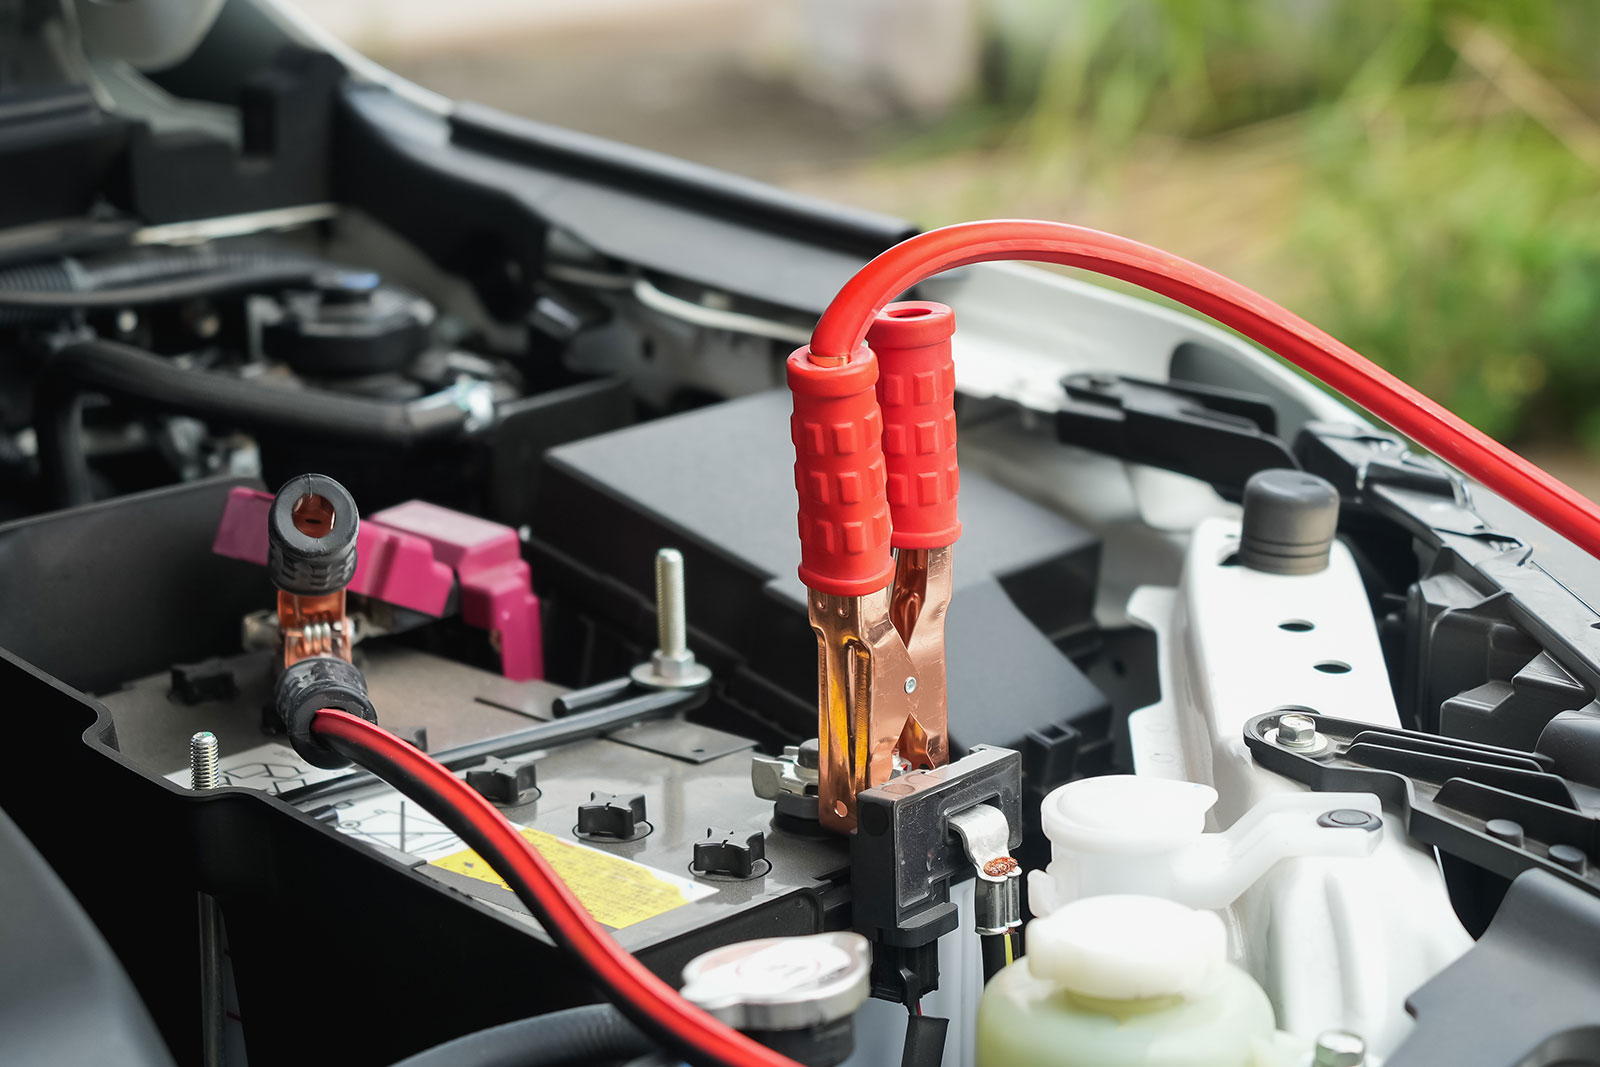
As the heart and soul of your vehicle’s electrical system, car fuses play a pivotal role in safeguarding your car’s electrical components. A cabin full of fried wires and malfunctioning devices is the last thing any driver wants. In this guide, we’ll show you how to check your car fuses and ensure they are lucratively serving their purpose. We will provide a detailed step-by-step manual that can come in handy for both experienced drivers and beginner auto enthusiasts.
Why check car fuses?
From powering your car’s light system to controlling the electrically powered systems, car fuses are essentially everywhere, safeguarding each electrical system from potential damage due to power surges. Given their magnitude of responsibility, knowing how to check these small yet mighty components for functionality becomes not just convenient, but also incredibly necessary for a smooth driving experience.
How to check car fuses?
Before we dive in, it’s important to note that while learning to check your car fuses can be a handy skill, there may be times when professional help is required. Should you face issues beyond your comfort zone, don’t hesitate to visit a professional like our team at Alternator Starter Replacement.
Step 1: Gather the tools
You’ll need your vehicle’s owner’s manual, a flashlight, and a fuse puller or needle-nose pliers.
Step 2: Locate the fuse box
Car manufacturers often place the fuse box in a secure, yet accessible location. Typically, you can find it under the dashboard on the driver’s side, in the glove compartment, or under the hood near the battery. Your vehicle’s owner’s manual will provide the precise location.
Step 3: Understand the fuse box chart
On the inside cover of the fuse box, you should see a diagram displaying the location and purpose of each fuse. Familiarize yourself with this chart to identify the fuse you need to check.
Step 4: Pull out the fuse
Carefully remove the chosen fuse from its slot using your fuse puller or needle-nose pliers. When doing this, be as gentle as possible to avoid causing any damage.
Step 5: Inspect the fuse
Hold the fuse up to the light. If the metal strip inside the plastic casing is broken or burned, the fuse is blown and needs replacement. If the strip is unbroken, then the fuse is probably fine.
Step 6: Replace the Fuse
Whether the fuse is blown or not, always return it to its original slot. If you need a replacement, make sure to replace it with another of the same rating (color and number).
Although these steps are simple and user-friendly, your vehicle’s fuses are small, so work carefully, patiently, and always in a well-lit area. The time invested in understanding these tiny protectors of your vehicle’s electrical health can save you a lot of hassle down the road.
If you encounter serious electrical problems, or if replacing a fuse doesn’t fix the device it’s supposed to protect, then the issue might be slightly more complicated, potentially related to your alternator or starter. In such scenarios, or if you need high-quality alternators or starters, visit us at Alternator Starter Replacement. Don’t hesitate to ensure your vehicle’s electrical integrity is uncompromised.
In conclusion, by periodically checking and replacing your vehicle’s fuses, you prevent possible electrical havoc. The benefits of investing a little time into maintaining your vehicle’s electrical system’s health are extensive. Keep this guide handy, benefit from our step-by-step guide, and hone the skill of checking car fuses immaculately.


